Filtering and Exporting Grades
Quick Filtering + Excel/PDF Export
QuickFilter lets you narrow the grid down before exporting, and ColumnsPicker lets you choose which columns to include — so you can report on exactly the data you want. It's one of Serenity's handiest features for reporting.
Add [QuickFilter] to the Grades columns you'll want to filter by:
namespace CourseTutorial.CourseDB.Columns;

[ColumnsScript("CourseDB.Grades")]
[BasedOnRow(typeof(GradesRow), CheckNames = true)]
public class GradesColumns
{
    [EditLink, DisplayName("Db.Shared.RecordId"), AlignRight]
    public int? Id { get; set; }

    [QuickFilter]
    public string? FullName { get; set; }

    [QuickFilter]
    public string? CourseName { get; set; }

    [QuickFilter]
    public string? TermName { get; set; }

    public decimal? Midterm { get; set; }
    public decimal? Final { get; set; }
    public decimal? Average { get; set; }
}
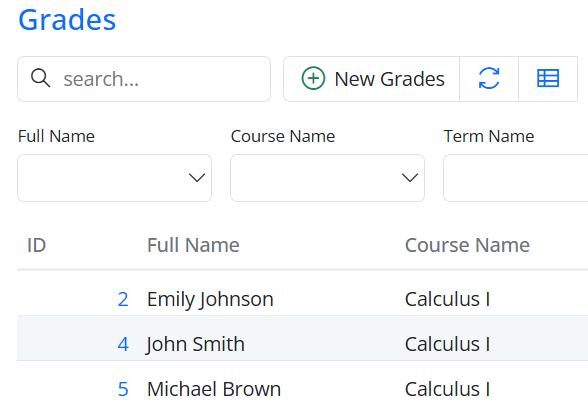
Filtering and reporting are handled by the same grid infrastructure, so there's nothing extra to write.
Add Excel and PDF Export Buttons
Exporting is just two toolbar buttons — Serenity's built-in helpers handle both formats, so there's almost no code.
First, make sure GradesGrid extends EntityGrid<GradesRow> (Sergen already generated this):
import { EntityGrid } from '@serenity-is/corelib';
import { GradesColumns, GradesRow, GradesService } from '../../ServerTypes/CourseDB';
import { GradesDialog } from './GradesDialog';

export class GradesGrid extends EntityGrid<GradesRow> {
    static override [Symbol.typeInfo] = this.registerClass("CourseTutorial.CourseDB.GradesGrid");

    protected override getColumnsKey() { return GradesColumns.columnsKey; }
    protected override getDialogType() { return GradesDialog; }
    protected override getRowDefinition() { return GradesRow; }
    protected override getService() { return GradesService.baseUrl; }
}
Override getButtons()
Add the export buttons in getButtons() (and add import { ExcelExportHelper, PdfExportHelper } from "@serenity-is/extensions"; at the top of the file):
protected override getButtons() {
    let buttons = super.getButtons();

    // Excel export button
    buttons.push(ExcelExportHelper.createToolButton({
        grid: this,
        service: GradesService.baseUrl + '/ListExcel',
        separator: true
    }));

    // PDF export button
    buttons.push(PdfExportHelper.createToolButton({
        grid: this
    }));

    return buttons;
}
What each button does
ExcelExportHelper.createToolButton: exports the grid to Excel. Theservicepoints at the backend endpoint, andseparator: trueadds a small gap before the button.PdfExportHelper.createToolButton: exports the grid to PDF on the frontend. Any filters or column selections you've applied show up in the PDF too.
How the exports work
- Excel — the grid calls the backend
/ListExcelendpoint.GradesListHandler.cspulls the filtered, sorted, and paged rows,IExcelExporterturns them into an Excel file, andExcelContentResult.Create(...)sends it to the browser for download. - PDF — the export runs on the frontend.
PdfExportHelperreads the grid's current data (including filters and selected columns) and generates the PDF for download.
Both exports respect the grid's state, so whatever you see on screen — quick filters, column filters, sorting, or columns you picked with ColumnsPicker — is exactly what gets exported.
Why this is nice
- Minimal code: you only add the buttons — no custom backend or frontend to write.
- Fully integrated: exports automatically honor the grid's filters, sorting, and column selection.
- Fast and reliable: Serenity uses its built-in handler, exporter, and frontend helpers.
- User-friendly: users export exactly what they see.
- Flexible columns: with ColumnsPicker, users choose which columns to show, and the exports respect that choice.
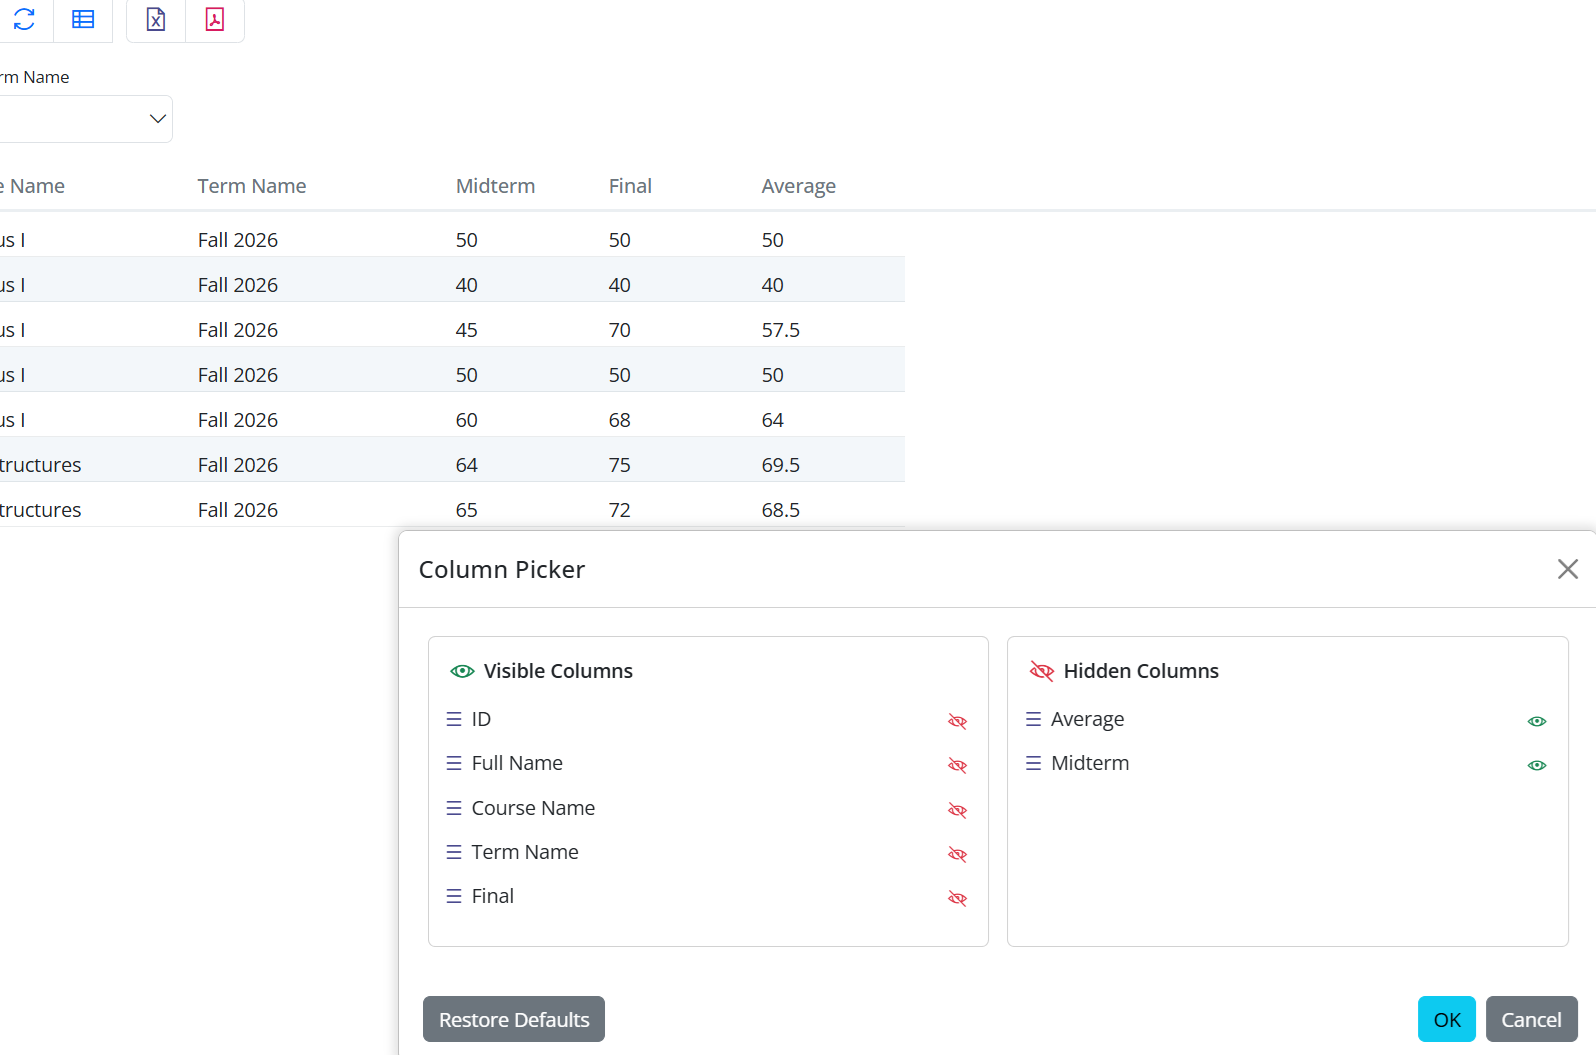
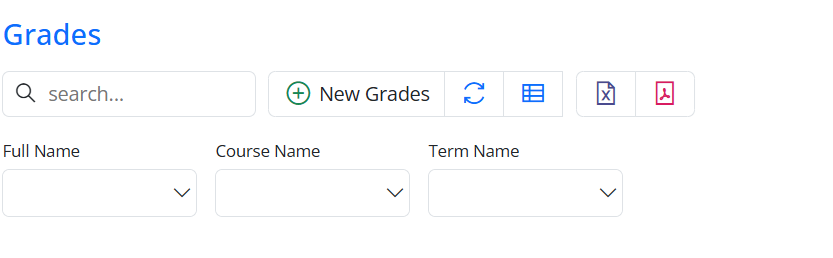
Excel and PDF buttons in the toolbar:
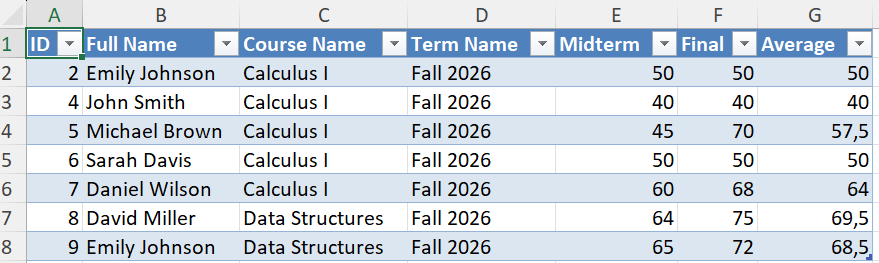
Excel output example:
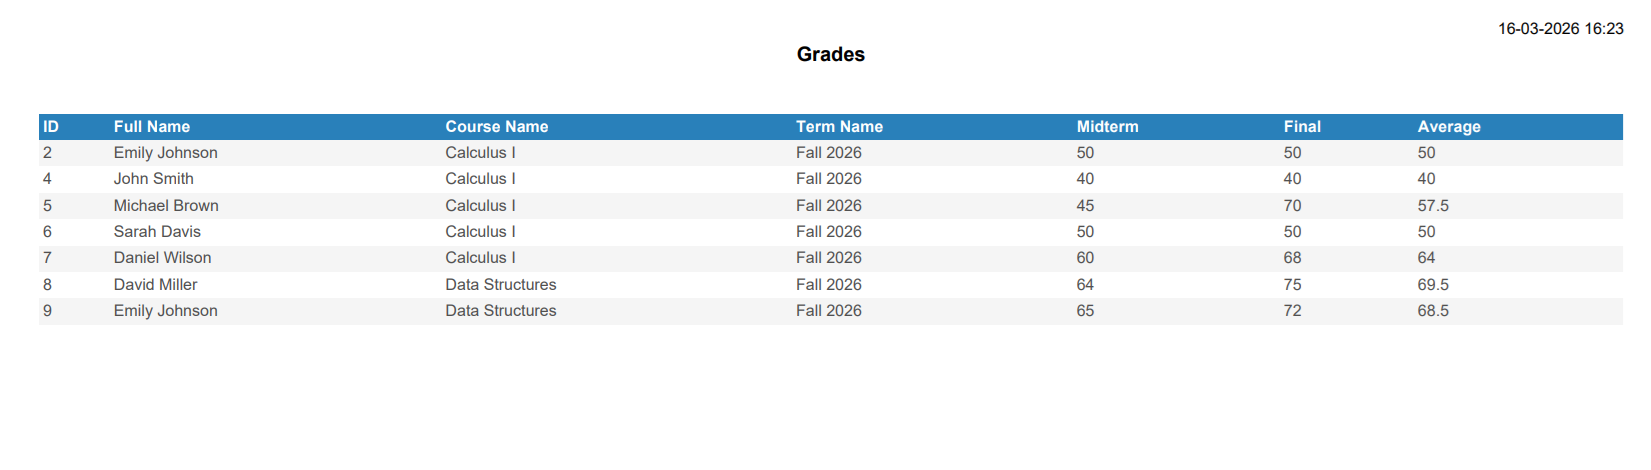
PDF output example:
That's the whole export feature — users can export filtered, sorted data to Excel or PDF, pick their columns with ColumnsPicker, and generate reports without writing any extra logic.