The Department Table
Create the Department Table with a Migration
Our system starts with the tables that everything else hangs off of, so let's begin with Department — every course, student, and teacher will belong to one.
We'll create it with a migration. The name carries a timestamp (20250614_1700), which keeps migrations in a clear order and avoids clashes when several people work on the same project.
The Department table only needs two columns for now:
- An auto-incrementing
Idcolumn as the primary key - A
Namecolumn to store the department name, marked as unique
We're using AutoReversingMigration, which means FluentMigrator can roll the table back automatically if we ever need to undo it during development.
using FluentMigrator;
namespace CourseTutorial.Migrations.DefaultDB;

[DefaultDB, MigrationKey(20250614_1700)]
public class DefaultDB_20250614_1700_Department : AutoReversingMigration
{
    public override void Up()
    {
        Create.Table("Department")
            .WithColumn("Id").AsInt32().IdentityKey(this)
            .WithColumn("Name").AsString(100).NotNullable().Unique();
    }
}
Note:
IdentityKey(this)is a Serenity/FluentMigrator helper that marks the column as both an auto-incrementing identity and the primary key in a single call. EveryIdcolumn in this tutorial uses it so the primary-key setup stays consistent.
Verify the Migration Worked
Serenity runs pending migrations automatically when the application starts, so the table should already exist. Let's confirm.
In SQL Server Management Studio (SSMS) or Visual Studio:
- Connect to the database used by the Serenity application
- Expand the Tables node under the target database
- Locate the
[dbo].[Department]table
Tip: If you don't have SSMS or Visual Studio handy, you can verify from the command line. The default Serene/StartSharp template uses a SQL Server LocalDB database named
<YourProjectName>_Default_v1:sqlcmd -S "(localdb)\MsSqlLocalDB" -d <YourProjectName>_Default_v1 -Q "SELECT * FROM dbo.Department; SELECT Version FROM dbo.VersionInfo ORDER BY Version;"Replace
<YourProjectName>with your project's name, e.g.CourseTutorial_Default_v1.
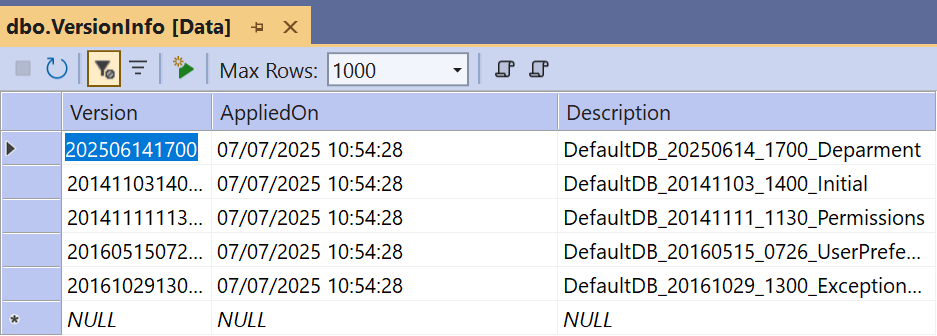
Every applied migration is recorded in the [dbo].[VersionInfo] table, so Serenity knows what has already run and never applies the same migration twice.
Generate the Code with Sergen
The table exists, but the application doesn't know about it yet. That's where Sergen, Serenity's code generator, comes in — it creates the row, page, grid, dialog, and service code for us.
Run it from the terminal:
> dotnet sergen g
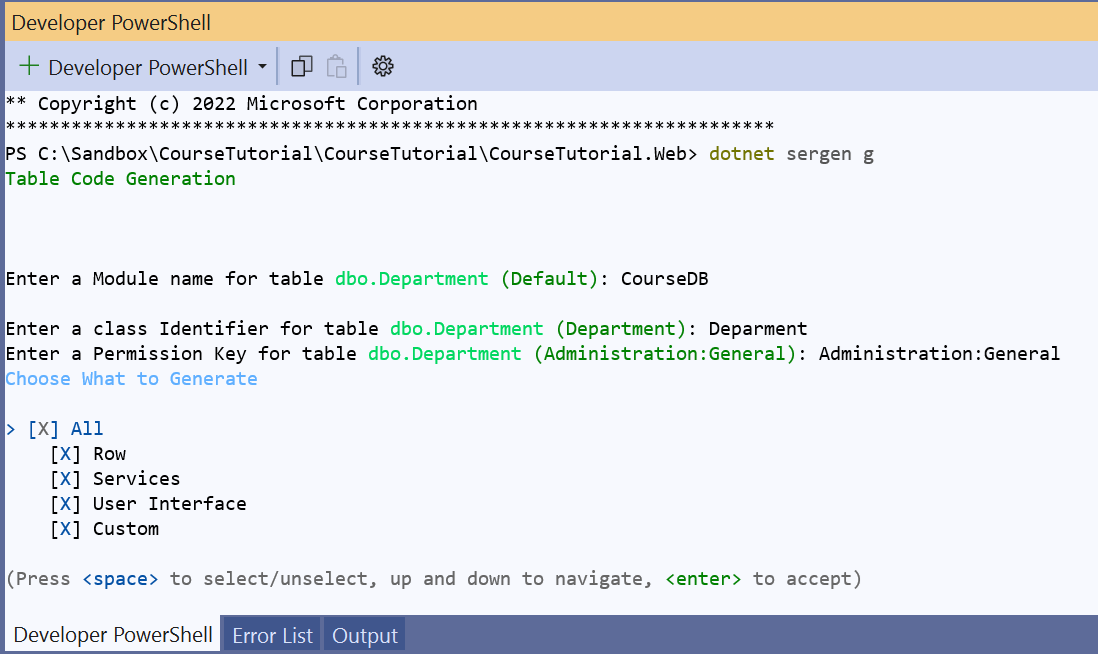
When prompted, select the Default database connection.
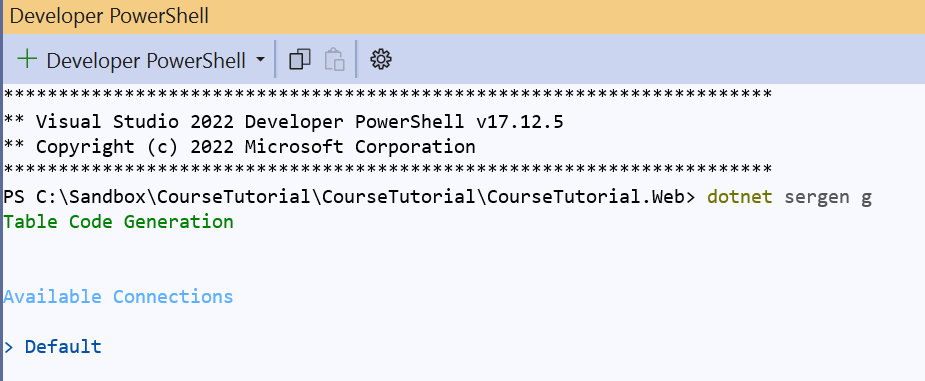
Sergen then lists the available tables. Select dbo.Department with the Space key and press Enter to continue.
When asked for a module name, enter CourseDB.
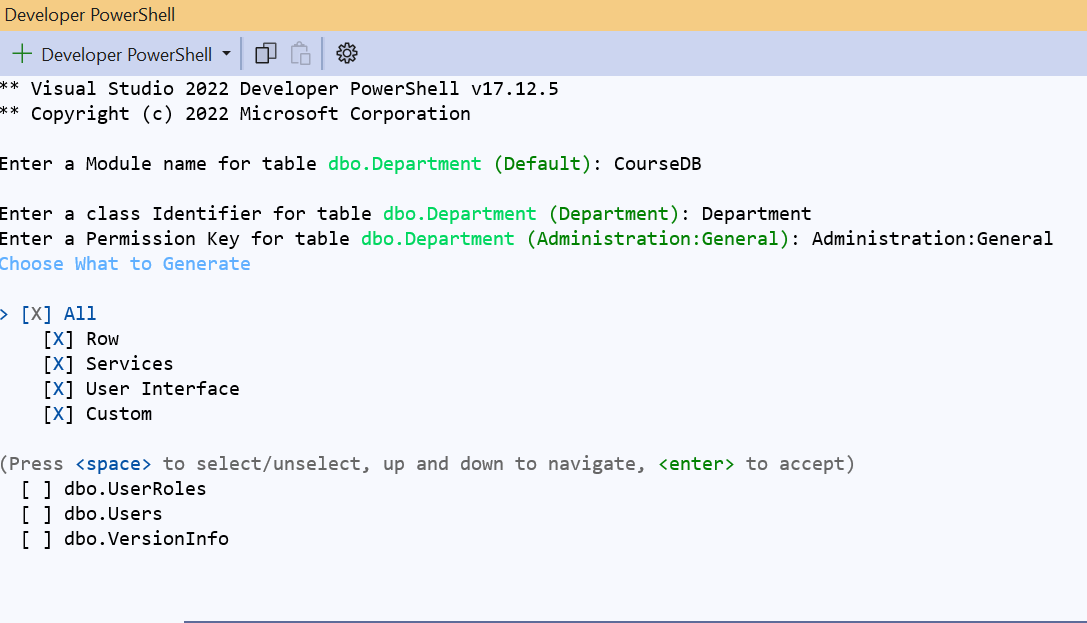
Leave the default All option selected — it generates the complete set of files (row, service, page, grid, dialog), so you get a working edit screen with no extra effort.
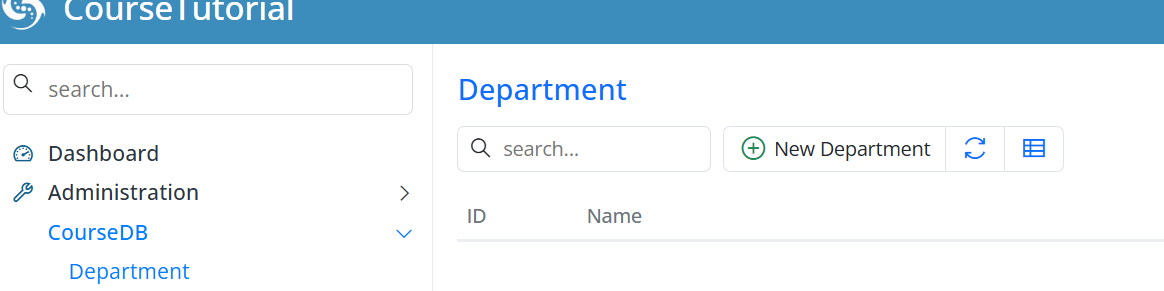
Once generation finishes, start the application and you'll see Department under the new CourseDB menu in the sidebar.
Add Some Sample Departments
The table and its screen are ready, so let's put a few rows in — the rest of the tutorial will refer back to them.
Open CourseDB → Department and add:
- Computer Science
- Mathematics
- Physics
These are the departments you'll pick from when you create courses, students, and teachers later on, so realistic names will make testing much nicer.
What's Next
Now that Department is in place, we'll create migrations for the rest of the core entities:
- Terms
- Courses
- Student and StudentCourses
- Other related tables
A few simple rules keep things tidy as we go:
- Consistent naming conventions
- Migrations in chronological order
- Proper foreign key definitions so the data stays consistent